01
How Much Does GFCI Outlet Installation Cost in Yakima?
labor costGFCI breaker vs outlet
Labor cost rises when a contractor encounters aluminum branch-circuit wiring—present in a large share of Yakima homes built before 1980—because remediation connectors and anti-oxidant compound add time and materials. Installing three or four outlets in one visit usually drops the per-unit price by 20–30 percent. Permit fees through the City of Yakima Code Administration Division or Yakima County Building Department are modest but required for new installations.
02
Where Are GFCI Outlets Required by Code?
kitchenbathroomgarageoutdoor circuit
The kitchen/bathroom code requirement under NEC Section 210.8 is the starting point: every receptacle serving kitchen countertops and every receptacle in a bathroom needs GFCI protection, full stop.
Washington State has adopted the 2021 NEC cycle, so those rules apply to new construction and any permitted renovation in Yakima today. Beyond kitchens and bathrooms, protection is mandatory in garages, unfinished basements, crawl spaces, and on any outdoor circuit. Yakima's seasonal temperature swing—from above 100°F in summer to below 10°F in winter—means outdoor GFCI outlets face real thermal stress, making proper weatherproof covers and periodic testing especially important here. Rental properties in the Yakima Valley see concentrated use during harvest seasons, which accelerates wear on outlets and makes compliance inspections a practical priority for landlords.
03
GFCI Outlet vs GFCI Breaker Installation
panel breakercircuit protection
Choosing between a GFCI outlet and GFCI breaker installation comes down to how many locations need protection and what's already in the panel.
A receptacle-style device protects only its own location plus any standard outlets wired to its downstream LOAD terminals—practical and affordable when you need coverage in one or two spots. A panel breaker protects every device on that circuit simultaneously, which suits a garage or outdoor circuit with multiple outlets spread around the perimeter. The trade-off: gfci breaker installation requires panel access, and in Yakima's older housing stock many panels are Federal Pacific or Zinsco units that carry safety concerns of their own. A licensed electrician should assess panel condition before adding any new breaker—retrofitting into a hazardous legacy panel creates more risk than it solves.
04
Wiring a New GFCI Outlet the Right Way
line/load terminalsgrounding wire
Correct GFCI outlet wiring starts at the LINE terminals: the black hot wire and white neutral from the panel connect here, supplying power to the device.
Downstream outlets that should share the same protection connect to the LOAD terminals. If you're protecting only the single location, leave the LOAD terminals unused and cap them with wire nuts. The bare or green grounding wire fastens to the green grounding screw. In Yakima's pre-1980 homes, where ungrounded two-wire circuits are common, NEC permits a GFCI to be installed legally on an ungrounded circuit provided the face plate is labeled 'No Equipment Ground.' Reversing LINE and LOAD is the most frequent wiring error—it produces a device that appears functional but won't trip during a real fault, which is why a licensed electrician should handle the job.
05
Replacing an Old Outlet with a GFCI Outlet
tamper-resistant GFCIreset/test button
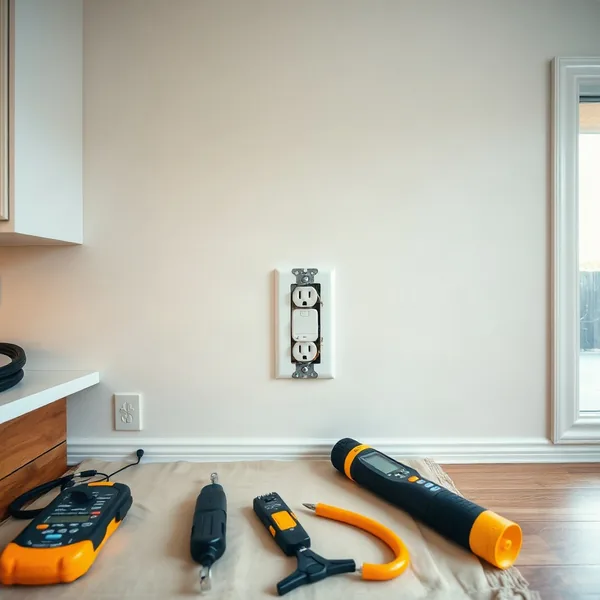
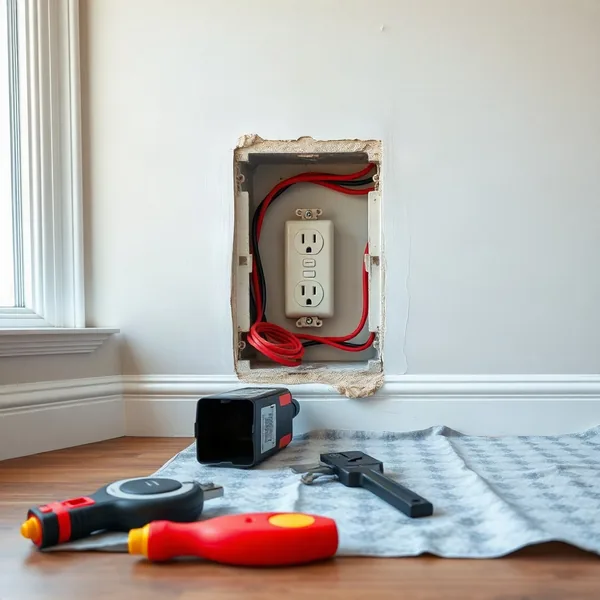
A straight gfci outlet replace job in most Yakima homes takes a licensed electrician under an hour per location, assuming the existing box has adequate depth and the wiring is copper.
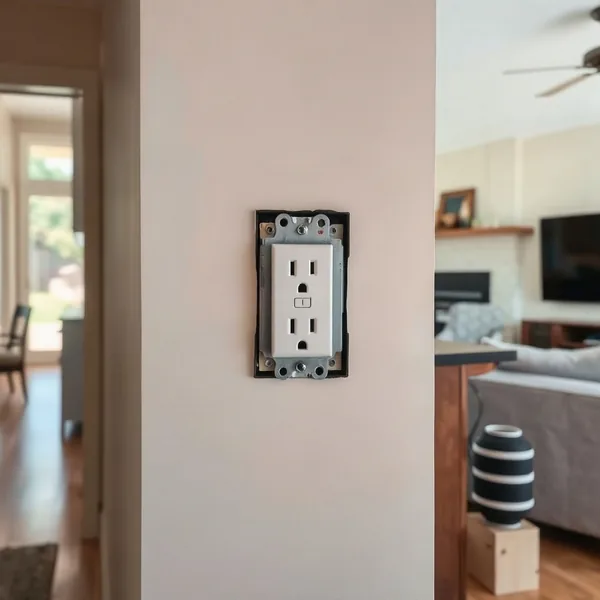
Today's code requires tamper-resistant GFCI receptacles in new and replacement installations in areas accessible to children, so the new device will have the small plastic shutters visible inside the slots. Once wired, the electrician presses the reset/test button to confirm the device trips and resets correctly before closing the wall plate. In older Yakima homes where the original outlet sat in a shallow single-gang box, the electrician may need to replace the box before completing the gfci installation—adding roughly 20–30 minutes. Documenting the test result matters if the property is a rental facing a harvest-season inspection.